
Ah, pumpkin carving season—the time when we wield knives with the precision of a surgeon, the creativity of an artist, and the hope that our pumpkins won’t end up looking like a Halloween-themed crime scene. Fear not, my fellow pumpkin enthusiasts, for I, your trusty guide from Shriek Bootique™, am here to unveil the secrets to creating Jack-O’-Lantern masterpieces that’ll make your neighbors green with envy (or perhaps just orange).
1. Selecting Your Gourd Muse:
First things first, darlings. Choosing the right pumpkin is like selecting a fine wine—it needs to have just the right shape, size, and personality. Don’t be fooled by a pumpkin’s outer beauty; make sure it’s got the sturdy walls and a flat base that can withstand your carving ambitions. After all, nobody wants a pumpkin collapse mid-carve. It’s like a Halloween horror story in the making.
2. Planning Your Design:
Remember, Rome wasn’t carved in a day. Before you even think about wielding your carving tools, have a design in mind. Whether it’s a classic toothy grin or a spooky silhouette, having a blueprint will save you from carving regrets. And if you’re feeling truly ambitious, go for a design that’s way out of your league. It’s like signing up for pumpkin carving boot camp—painful yet oddly satisfying.
3. Embrace the Scoop:
Now comes the gooey part—gutting your pumpkin. Grab a scoop and get ready to plunge into the slimy abyss. Remember, this isn’t just a pumpkin; it’s a tactile experience that’ll leave your hands smelling like pumpkin spice for days. Pro tip: save those seeds for roasting later. Nothing says “I’m a pumpkin aficionado” like munching on your own DIY pumpkin seeds.
4. Carving Like a Pro:
It’s time to face the music, or rather, the pumpkin guts. Whether you’re using a simple carving kit or a collection of power tools that would make Tim “The Tool Man” Taylor proud, make sure you’re carving with confidence. Take your time, follow your design, and don’t get discouraged if your pumpkin’s grin starts looking like a lopsided smirk. Imperfections add character, right?
5. Light It Up:
You’ve battled the goo, conquered the design, and emerged victorious. Now it’s time to give your creation the spotlight it deserves. Place a candle or LED light inside your pumpkin and watch as your masterpiece comes to life in a flickering dance of shadows and illumination. It’s like a horror movie where you’re the director, and your pumpkin is the star.
6. Bask in the Glow:
You’ve done it, my pumpkin Picasso! Step back and admire your handiwork. Your neighbors will be in awe of your artistic prowess, and you’ll feel like a true pumpkin whisperer. And if your pumpkin’s a bit wonky, well, that’s just part of the charm. Remember, there’s no such thing as a “perfect” Jack-O’-Lantern; each one has its own unique personality and quirks.
So there you have it, my fearless pumpkin carving comrades. With these tips and a dash of courage, you’re ready to carve your way into Halloween legend. And as you proudly display your Jack-O’-Lantern masterpiece, know that you’ve achieved a level of pumpkin greatness that’s truly gourd-geous. Now go forth, carve like there’s no tomorrow, and let your pumpkin glow be a beacon of spooky inspiration for all to see!
Get these spooky items now! FREE shipping and 10% off — Coupon code FREESHRIEK
-

Trick Or Treat Women’s Hoodie Dress
$69.95 -

Welcome to the Nightmare! Hoodie Dress
$69.95 -

Night of the Zombies Leggings
$39.95 -

Spooky Tree Leggings
$39.95 -

Living Dead Leggings
$39.95 -
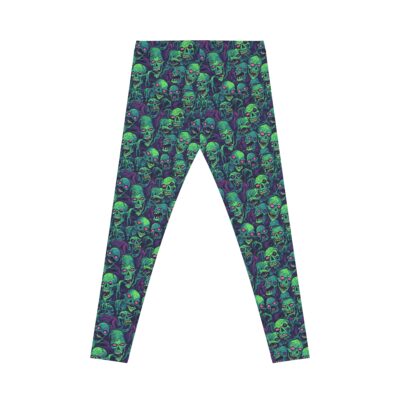
Zombies Everywhere! Leggings
$39.95 -

Watercolor Zombies Leggings
$39.95 -

Silvery Moon Leggings
$39.95 -

Purple & Green Stripe Leggings
$39.95 -

Multicolor Stripe Leggings – Coordinate With Shirts!
$39.95 -

Multicolor Zig Zag Leggings
$39.95 -
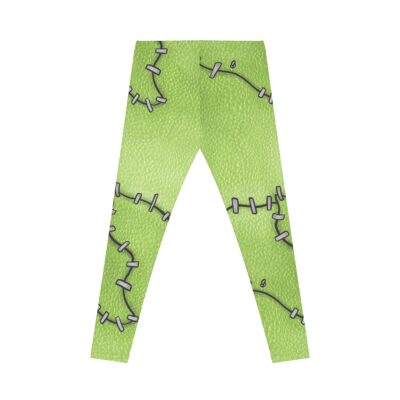
Frankie Leggings
$39.95